Tips for Effective DIY Sound Deadening in Cars, Trucks, and Campers
As a vehicle owner, you may have experienced the annoyance of excessive noise while cruising in your car, truck, or camper. Whether it's road noise, engine vibrations, or wind interference, such disturbances can distract from the driving experience or hinder crucial business calls for on-the-road professionals. That's where sound deadening solutions come in to save the day. However, not everyone has the luxury of relying on professional installation services, so knowing how to effectively perform a DIY sound deadening project can be a valuable skill.
Taking the DIY approach for sound deadening can be a cost-effective and rewarding endeavor, giving you ownership over the entire process and providing a sense of accomplishment when enjoying the newly achieved peace and quiet in your vehicle. Nonetheless, if you're planning a DIY sound deadening project, it's crucial to arm yourself with the proper knowledge and techniques to achieve optimal results.
In this comprehensive guide, we shed light on the most effective tips and tricks to ensure a successful DIY sound deadening installation for your car, truck, or camper. We'll guide you through the entire process, from selecting the best materials for your needs and budget, to pre-installation planning, the actual installation process, and maintaining your new sound deadening system over time. You'll gain the confidence needed to undertake this rewarding project and create a serene and comfortable environment in your vehicle for you and your passengers to enjoy. Get ready to embark on a journey to greater comfort and satisfaction behind the wheel by taking control of your vehicle's noise levels.
Choosing the Right Sound Deadening Materials
Selecting the appropriate materials for your DIY sound deadening project is the first crucial step to achieving top-notch results. While there are numerous options available on the market, it's essential to identify the ones suited for your specific needs, vehicle type, and budget. Here are some popular sound deadening materials to consider:
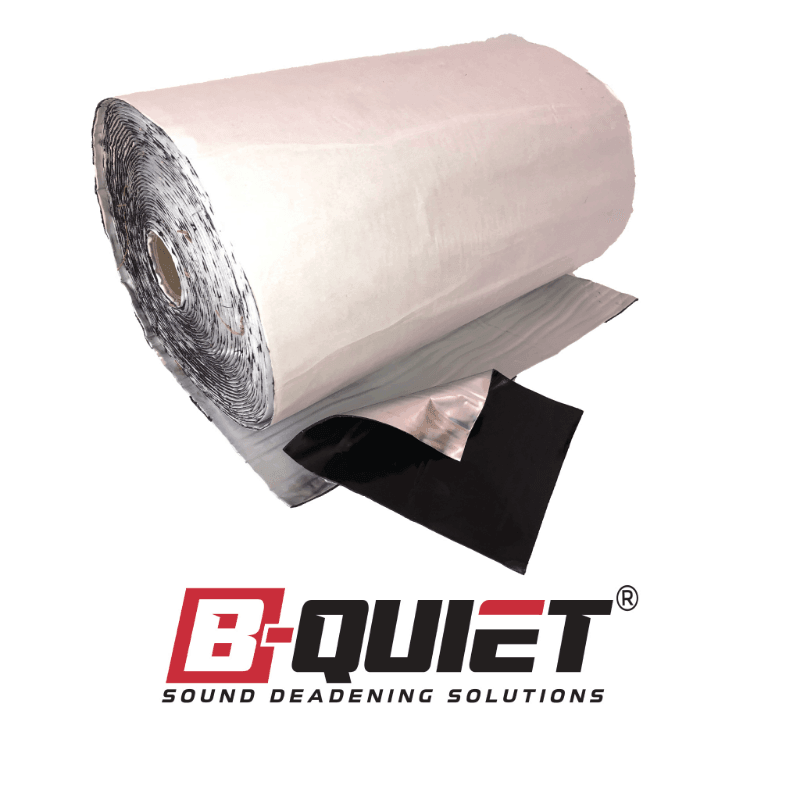
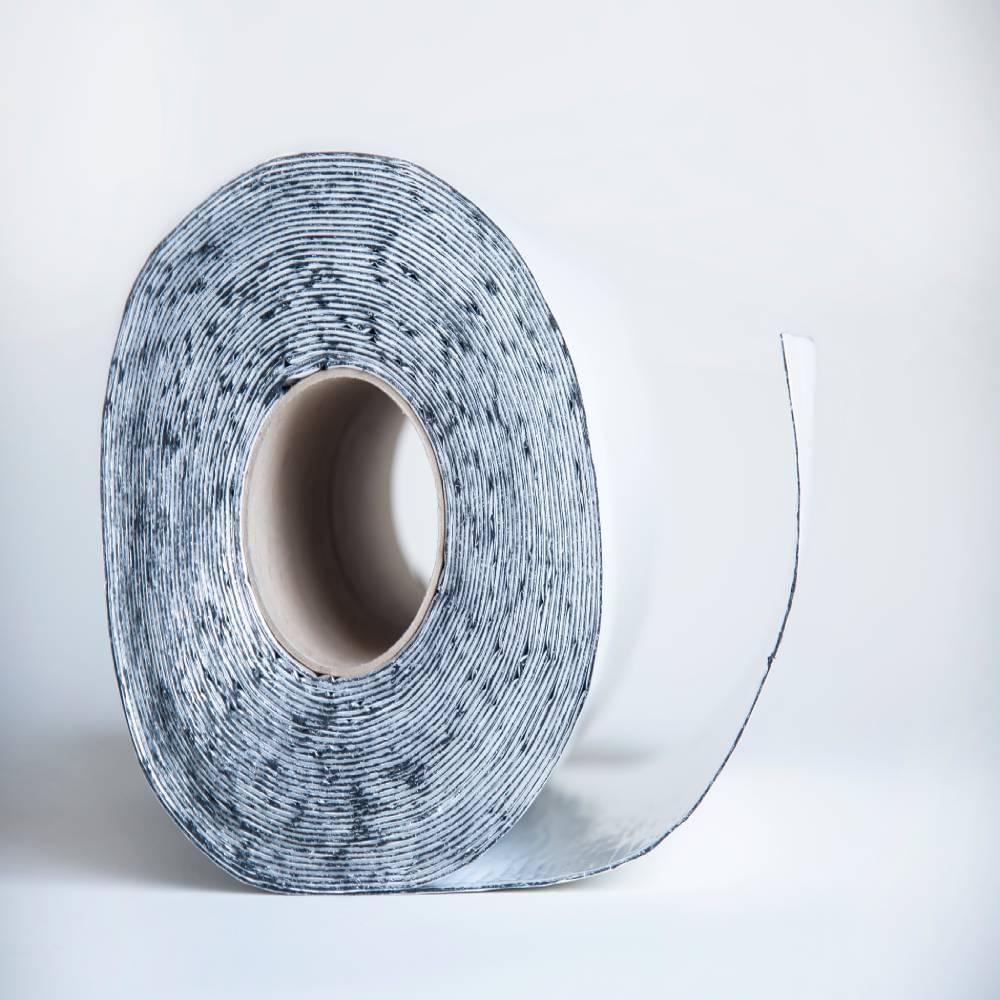
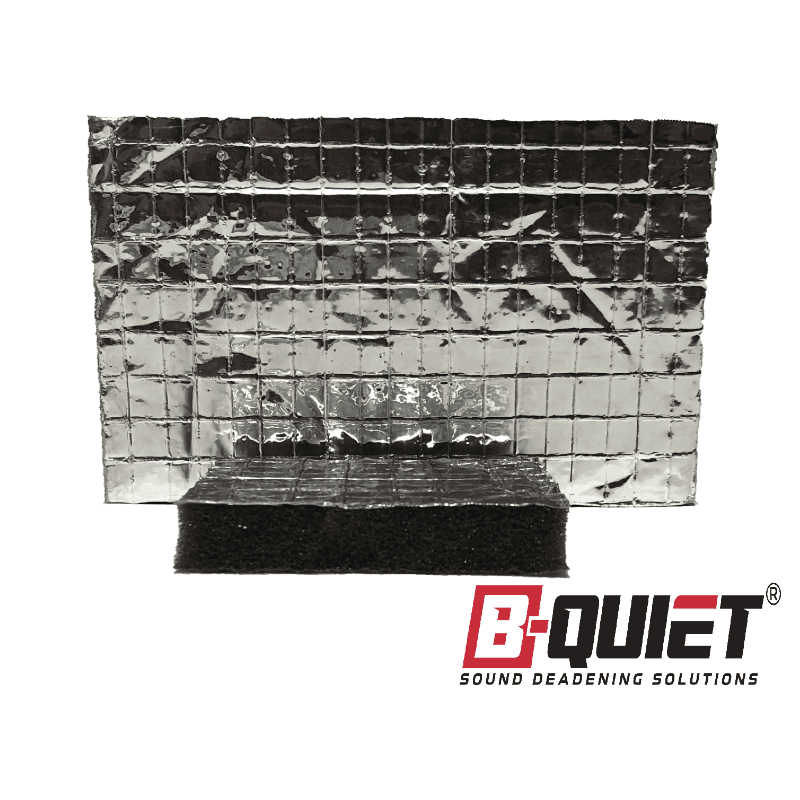
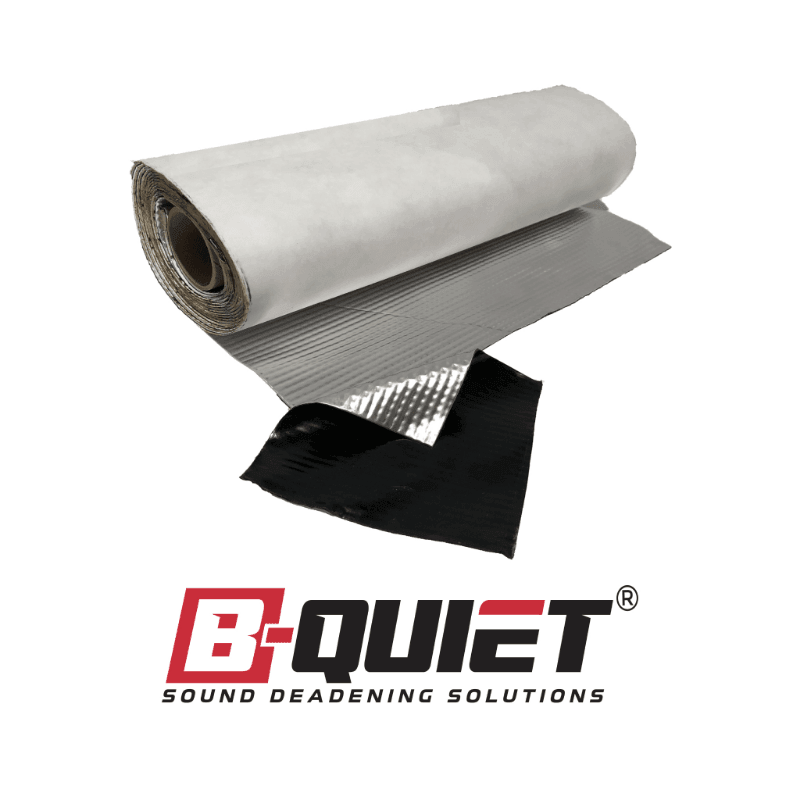
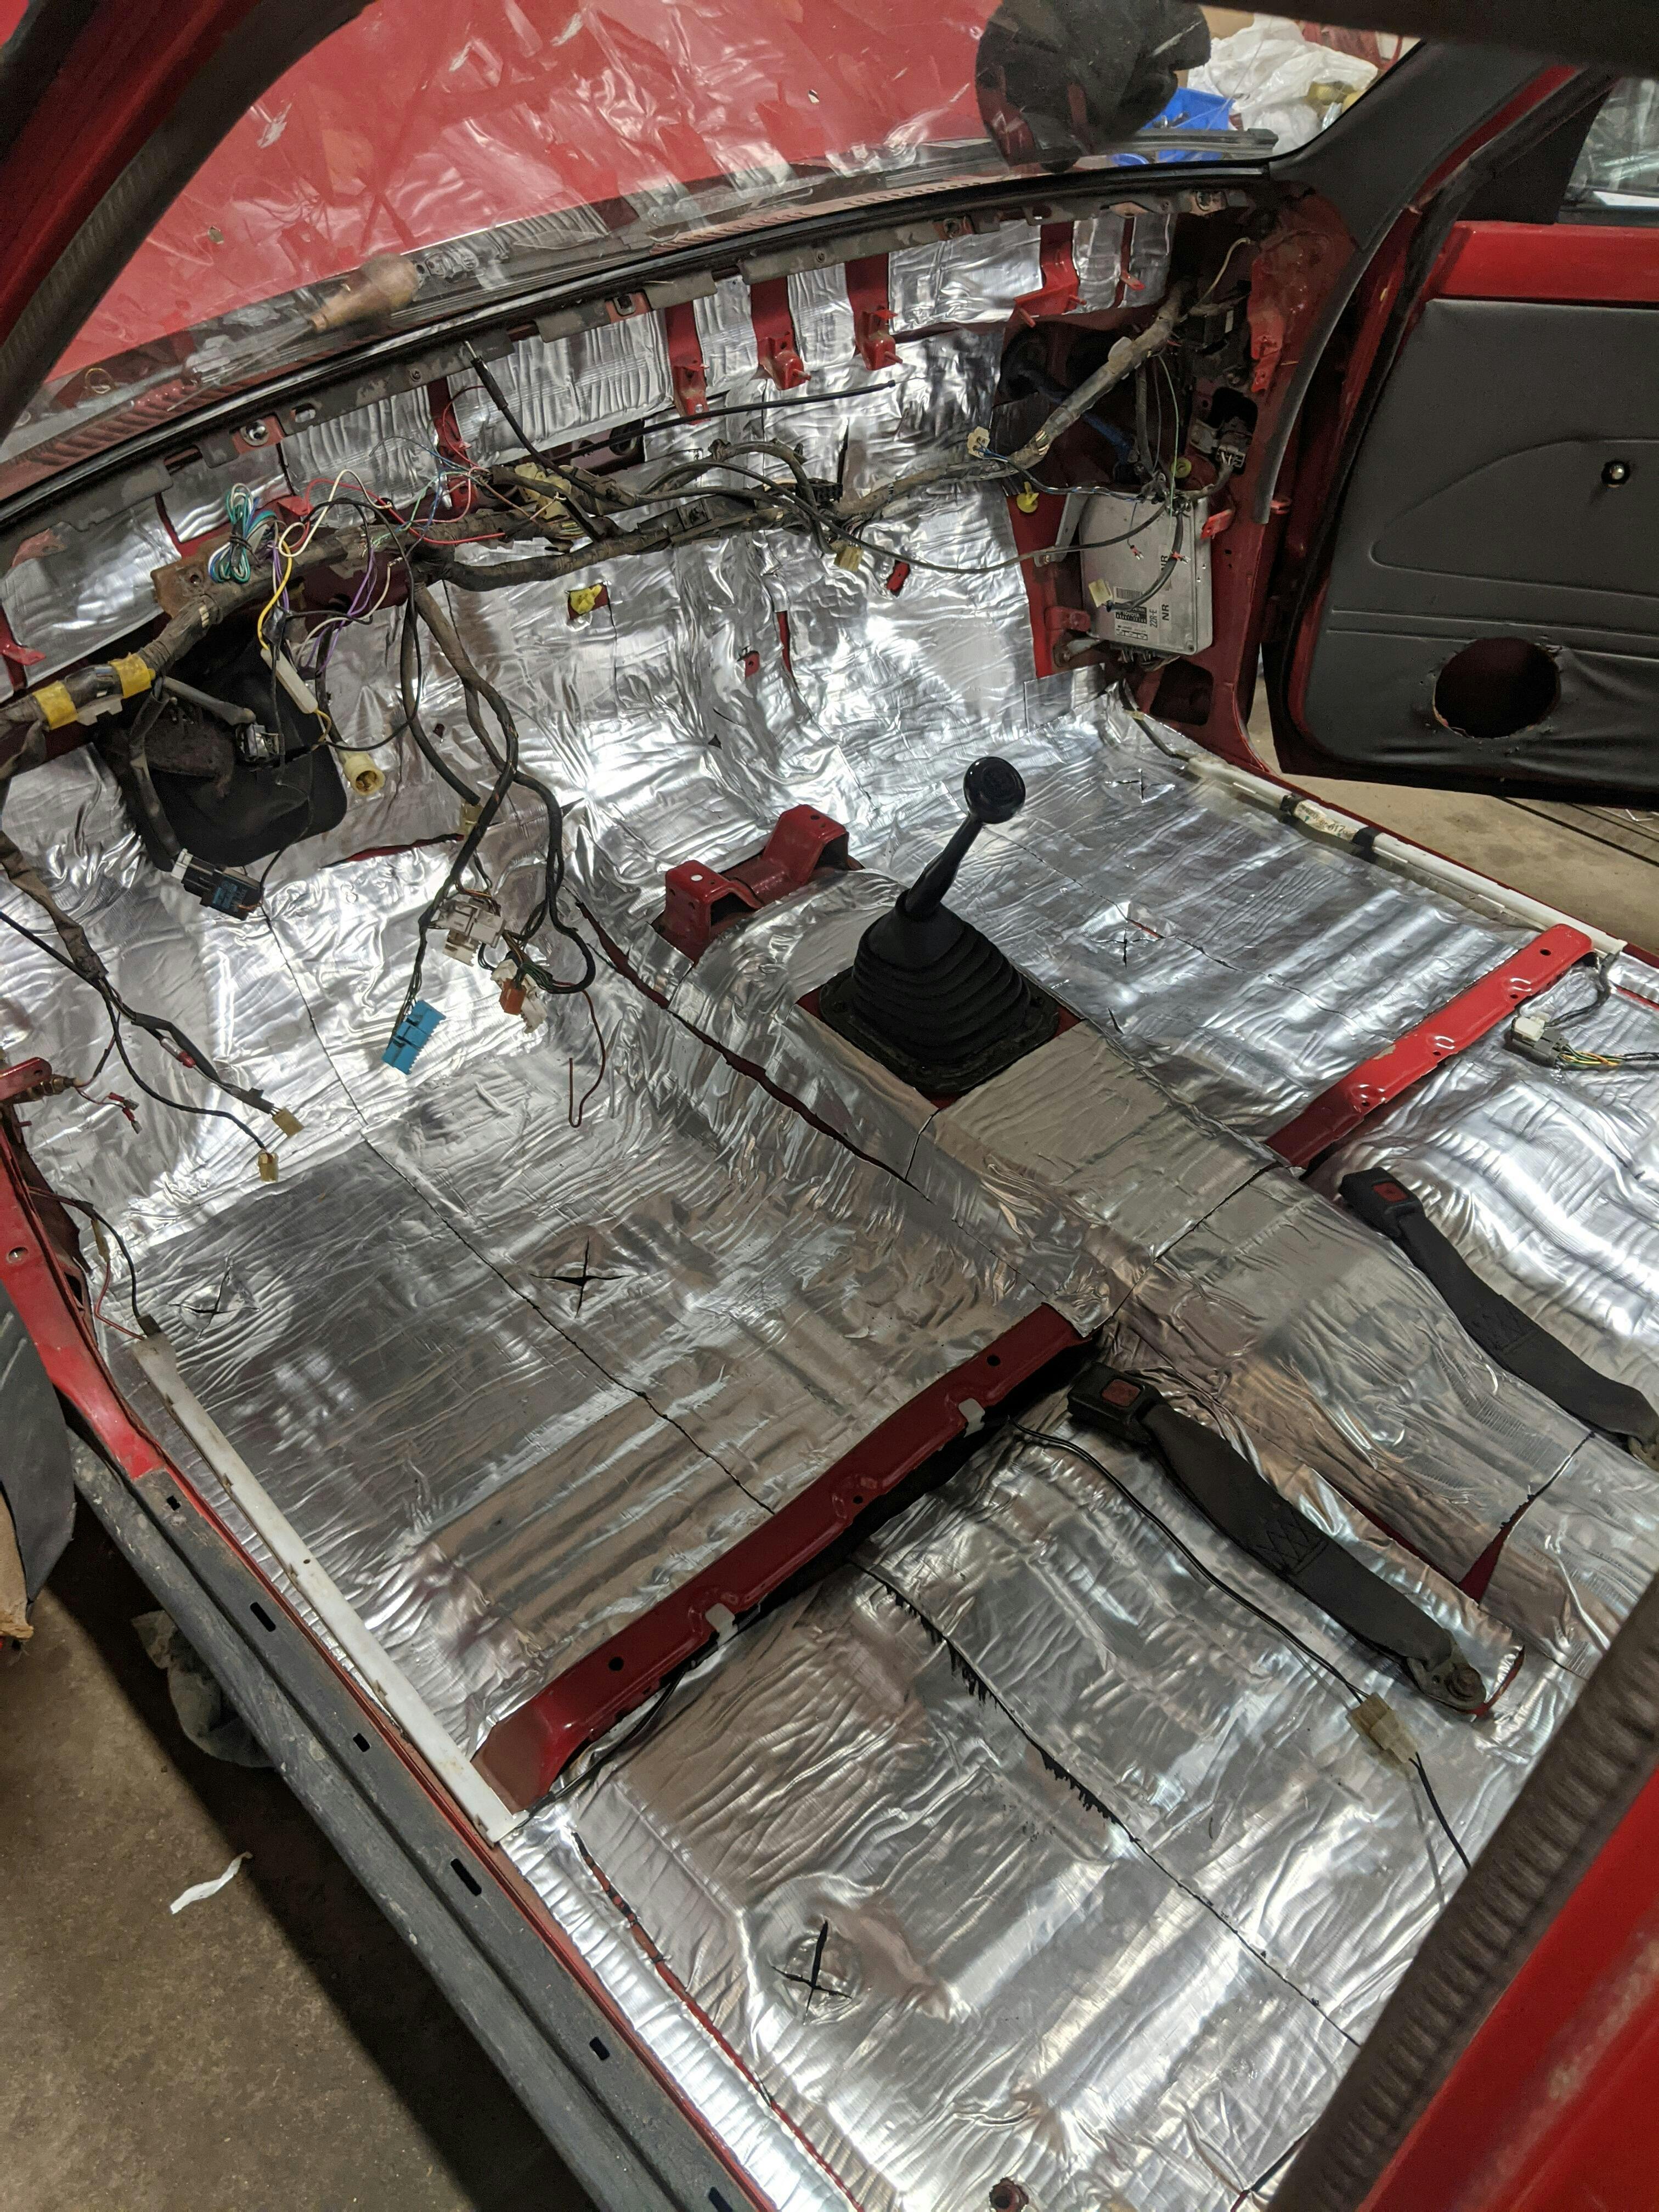
Butyl Rubber Sound Deadening Mats
Butyl rubber mats, often combined with an aluminum layer, are efficient at absorbing vibrations and minimizing structure-borne noise. They can be applied to various areas of your vehicle, such as the floor, doors, trunk, and wheel wells, providing effective noise reduction.
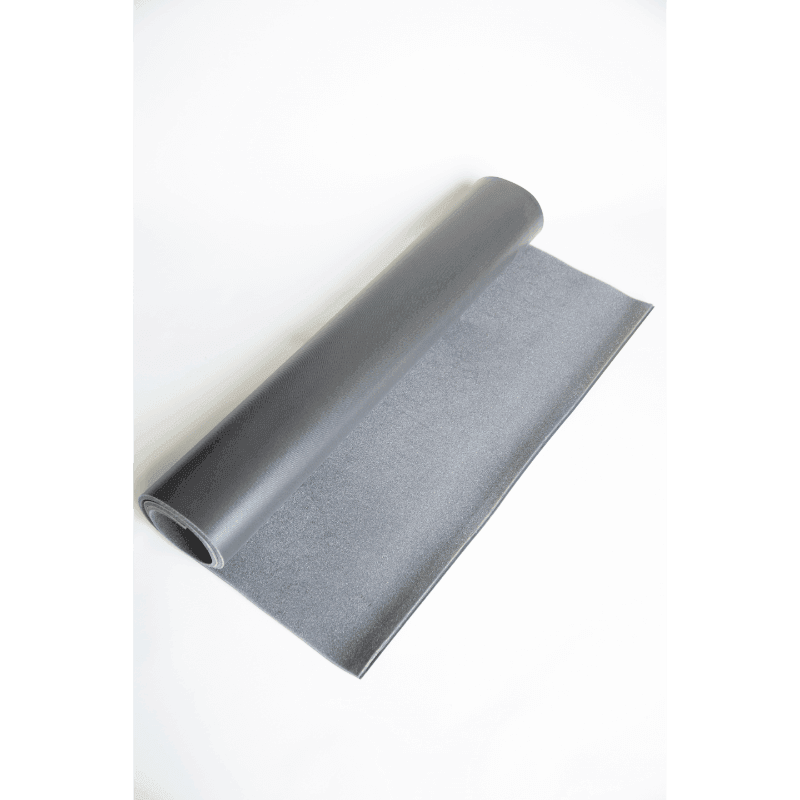
Mass Loaded Vinyl (MLV)
MLV is a dense and flexible material that excels at blocking airborne noise, making it ideal for tackling road and wind noise. These qualities make MLV a popular choice for installation within door panels, floor cavities, and headliners.
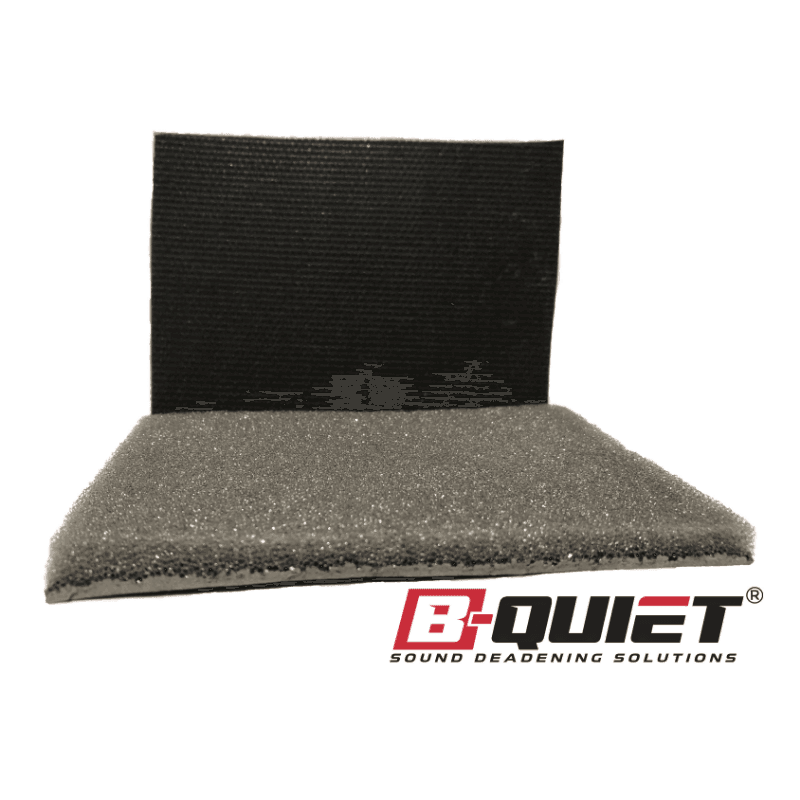
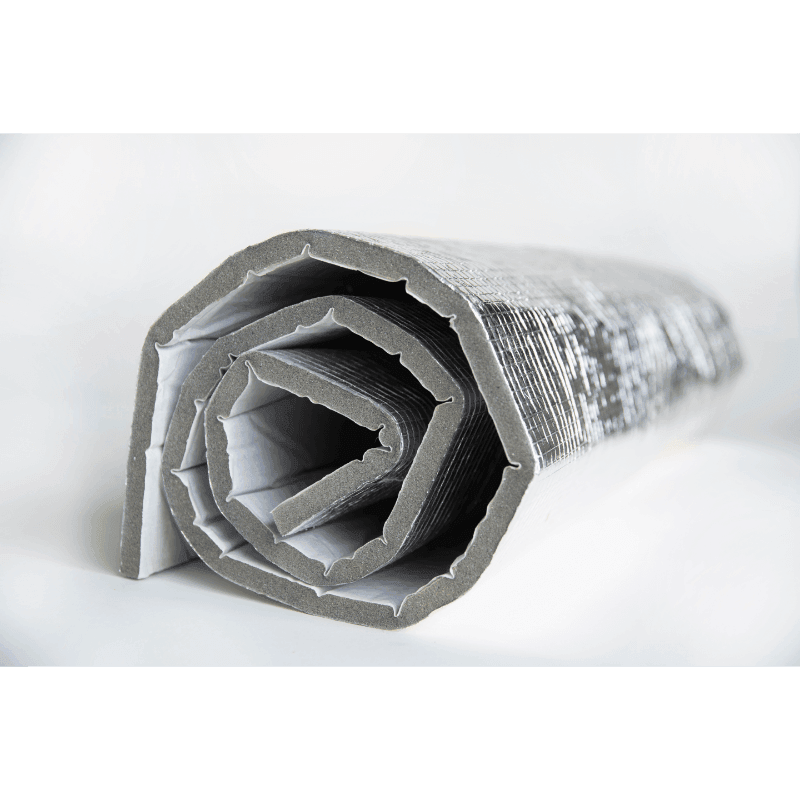
Closed-Cell Foam Insulation
Closed-cell foam provides both thermal and noise insulation with minimal added weight. This material can be applied to a vehicle's doors, floor, and headliner to help reduce noise while maintaining fuel efficiency and overall performance.
Pre-Installation Planning and Preparation
Preparation is key for a successful DIY sound deadening project. Taking the time to plan ahead can save you time, energy, and money down the line. These pre-installation planning and preparation tips can help ensure a smooth process:
Research and Learn from Others
Seek out resources, such as online forums, instructional videos, and articles, to learn from fellow DIY enthusiasts who have completed similar projects. Gather their tips, tricks, and recommendations to aid in your endeavour.
Assess Your Vehicle's Needs
Determine which sections of your vehicle require sound deadening the most. This process may involve listening for the sources of noise while driving, identifying vibration-prone areas, or analyzing your vehicle's existing insulation.
Gather Your Tools
Before starting the installation process, make sure you have all necessary tools on hand, such as a utility knife, scissors, a roller for applying pressure, adhesive, and a measuring tape.
The DIY Installation Process
With the right materials and proper planning, you're ready to begin the sound deadening installation process. Follow these steps to ensure a successful project:
1. Clean Surfaces
Ensure all surfaces where sound deadening material will be applied are cleaned thoroughly. Remove dust, debris, and grease to promote proper adhesion of the materials to your vehicle's surfaces.
2. Measure and Cut Material
Using a measuring tape and a utility knife or scissors, carefully measure and cut the sound deadening material to match your vehicle's dimensions and contours. Be sure to leave a small margin for any necessary adjustments during installation.
3. Apply Adhesive (If Needed)
Depending on the type of sound deadening material you've chosen, you may need to apply adhesive to help it stick to the vehicle's surfaces. Follow the manufacturer's instructions for the adhesive of your choice, ensuring a secure bond.
4. Install Material
Press the sound deadening material firmly onto the desired surfaces, smoothing out any air bubbles, wrinkles, or gaps as you work. For large areas such as the floor or doors, start from one edge and work your way across, while for smaller sections like wheel wells or cavities, apply the material to the corners first and work inwards.
5. Roll and Press Material
Use a roller or other heavy object to press the sound deadening material firmly against the vehicle's surfaces. This step will ensure a tight seal and prevent any gaps or air pockets from reducing the material's effectiveness.
Maintaining Your Sound Deadening System
After successfully completing your DIY sound deadening project, it's essential to maintain the system to ensure long-lasting performance. Follow these tips to preserve your investment:
Regular Inspections
Inspect your sound deadening materials periodically to identify and address any signs of wear, damage, or detachment.
Cleaning
Keep your vehicle clean and well-maintained, both inside and out. This practice can help prolong the life and effectiveness of your sound deadening system by preventing dirt, dust, and debris from compromising the materials' performance.
Address Issues Promptly
If you notice any issues with your sound deadening system, be sure to address them in a timely manner. Swift action can help prevent further damage or deterioration and keep your system working optimally.
Conclusion
Undertaking a DIY vehicle sound deadening project for your car, truck, or camper can be a rewarding and cost-effective experience with the right materials, planning, and execution. By investing time in research, preparation, and diligent installation and maintenance, you can create a more comfortable and enjoyable driving environment for yourself and your passengers. Embrace the challenge and enjoy the satisfaction of equipping your vehicle with a custom sound deadening solution tailored to your unique needs and preferences. Get started today and transform your vehicle into a peaceful oasis on wheels. With a successful DIY project under your belt, you'll wonder how you ever drove without it! Discover our range of sound deadening materials and let us help you achieve the quiet ride you deserve.