A Road Trip Like No Other: Transforming Your Camper with Sound Deadening Techniques
For many adventure seekers, there's nothing quite like hitting the open road and exploring new destinations in a beloved camper. Road trips can offer a sense of freedom and an opportunity to forge unforgettable memories with loved ones. However, an often-overlooked aspect of these incredible adventures is the noise and vibrations that can infiltrate your mobile living space as you travel. In order to fully enjoy your road trip experience, it's essential to ensure that your camper is as tranquil and comfortable as it can be. One highly effective way to achieve this is by incorporating sound deadening techniques into your camper's design. In this guide, we'll delve into the benefits of investing in camper sound deadening and discuss the top materials and methods to consider.
Excessive noise and vibrations can have a profound impact on the overall enjoyment and comfort of your journey. The sources of these unwanted disturbances can vary, ranging from road and tire noise to engine rumblings and wind noise. While some level of noise might be unavoidable during a road trip, there are ways to significantly reduce these irritants, allowing you to fully relax and enjoy the scenic landscapes passing by.
Investing in high-quality sound deadening materials and techniques for your camper not only reduces noise levels but can also help optimize temperature control and promote overall cabin comfort. The materials used for sound deadening typically serve as excellent insulators, providing the added benefit of helping to maintain a consistent temperature within your camper, regardless of external climate conditions. This can be particularly beneficial for those traversing through varied climates and terrains while on the journey of a lifetime.
Selecting the right sound deadening solution for your camper depends on numerous factors, such as budget, installation complexity, and the specific types of noise you wish to minimize. In the following sections, we will take a closer look at various sound deadening materials and offer guidance to help you make the best choice for your unique needs. Get ready to transform your road trip experience with an optimally soundproofed camper!
1: Key Areas to Target for Camper Sound Deadening
Before diving into specific materials and techniques, it's crucial to identify the primary areas within your camper that require sound deadening. Here are a few key areas you should focus on for optimal results:
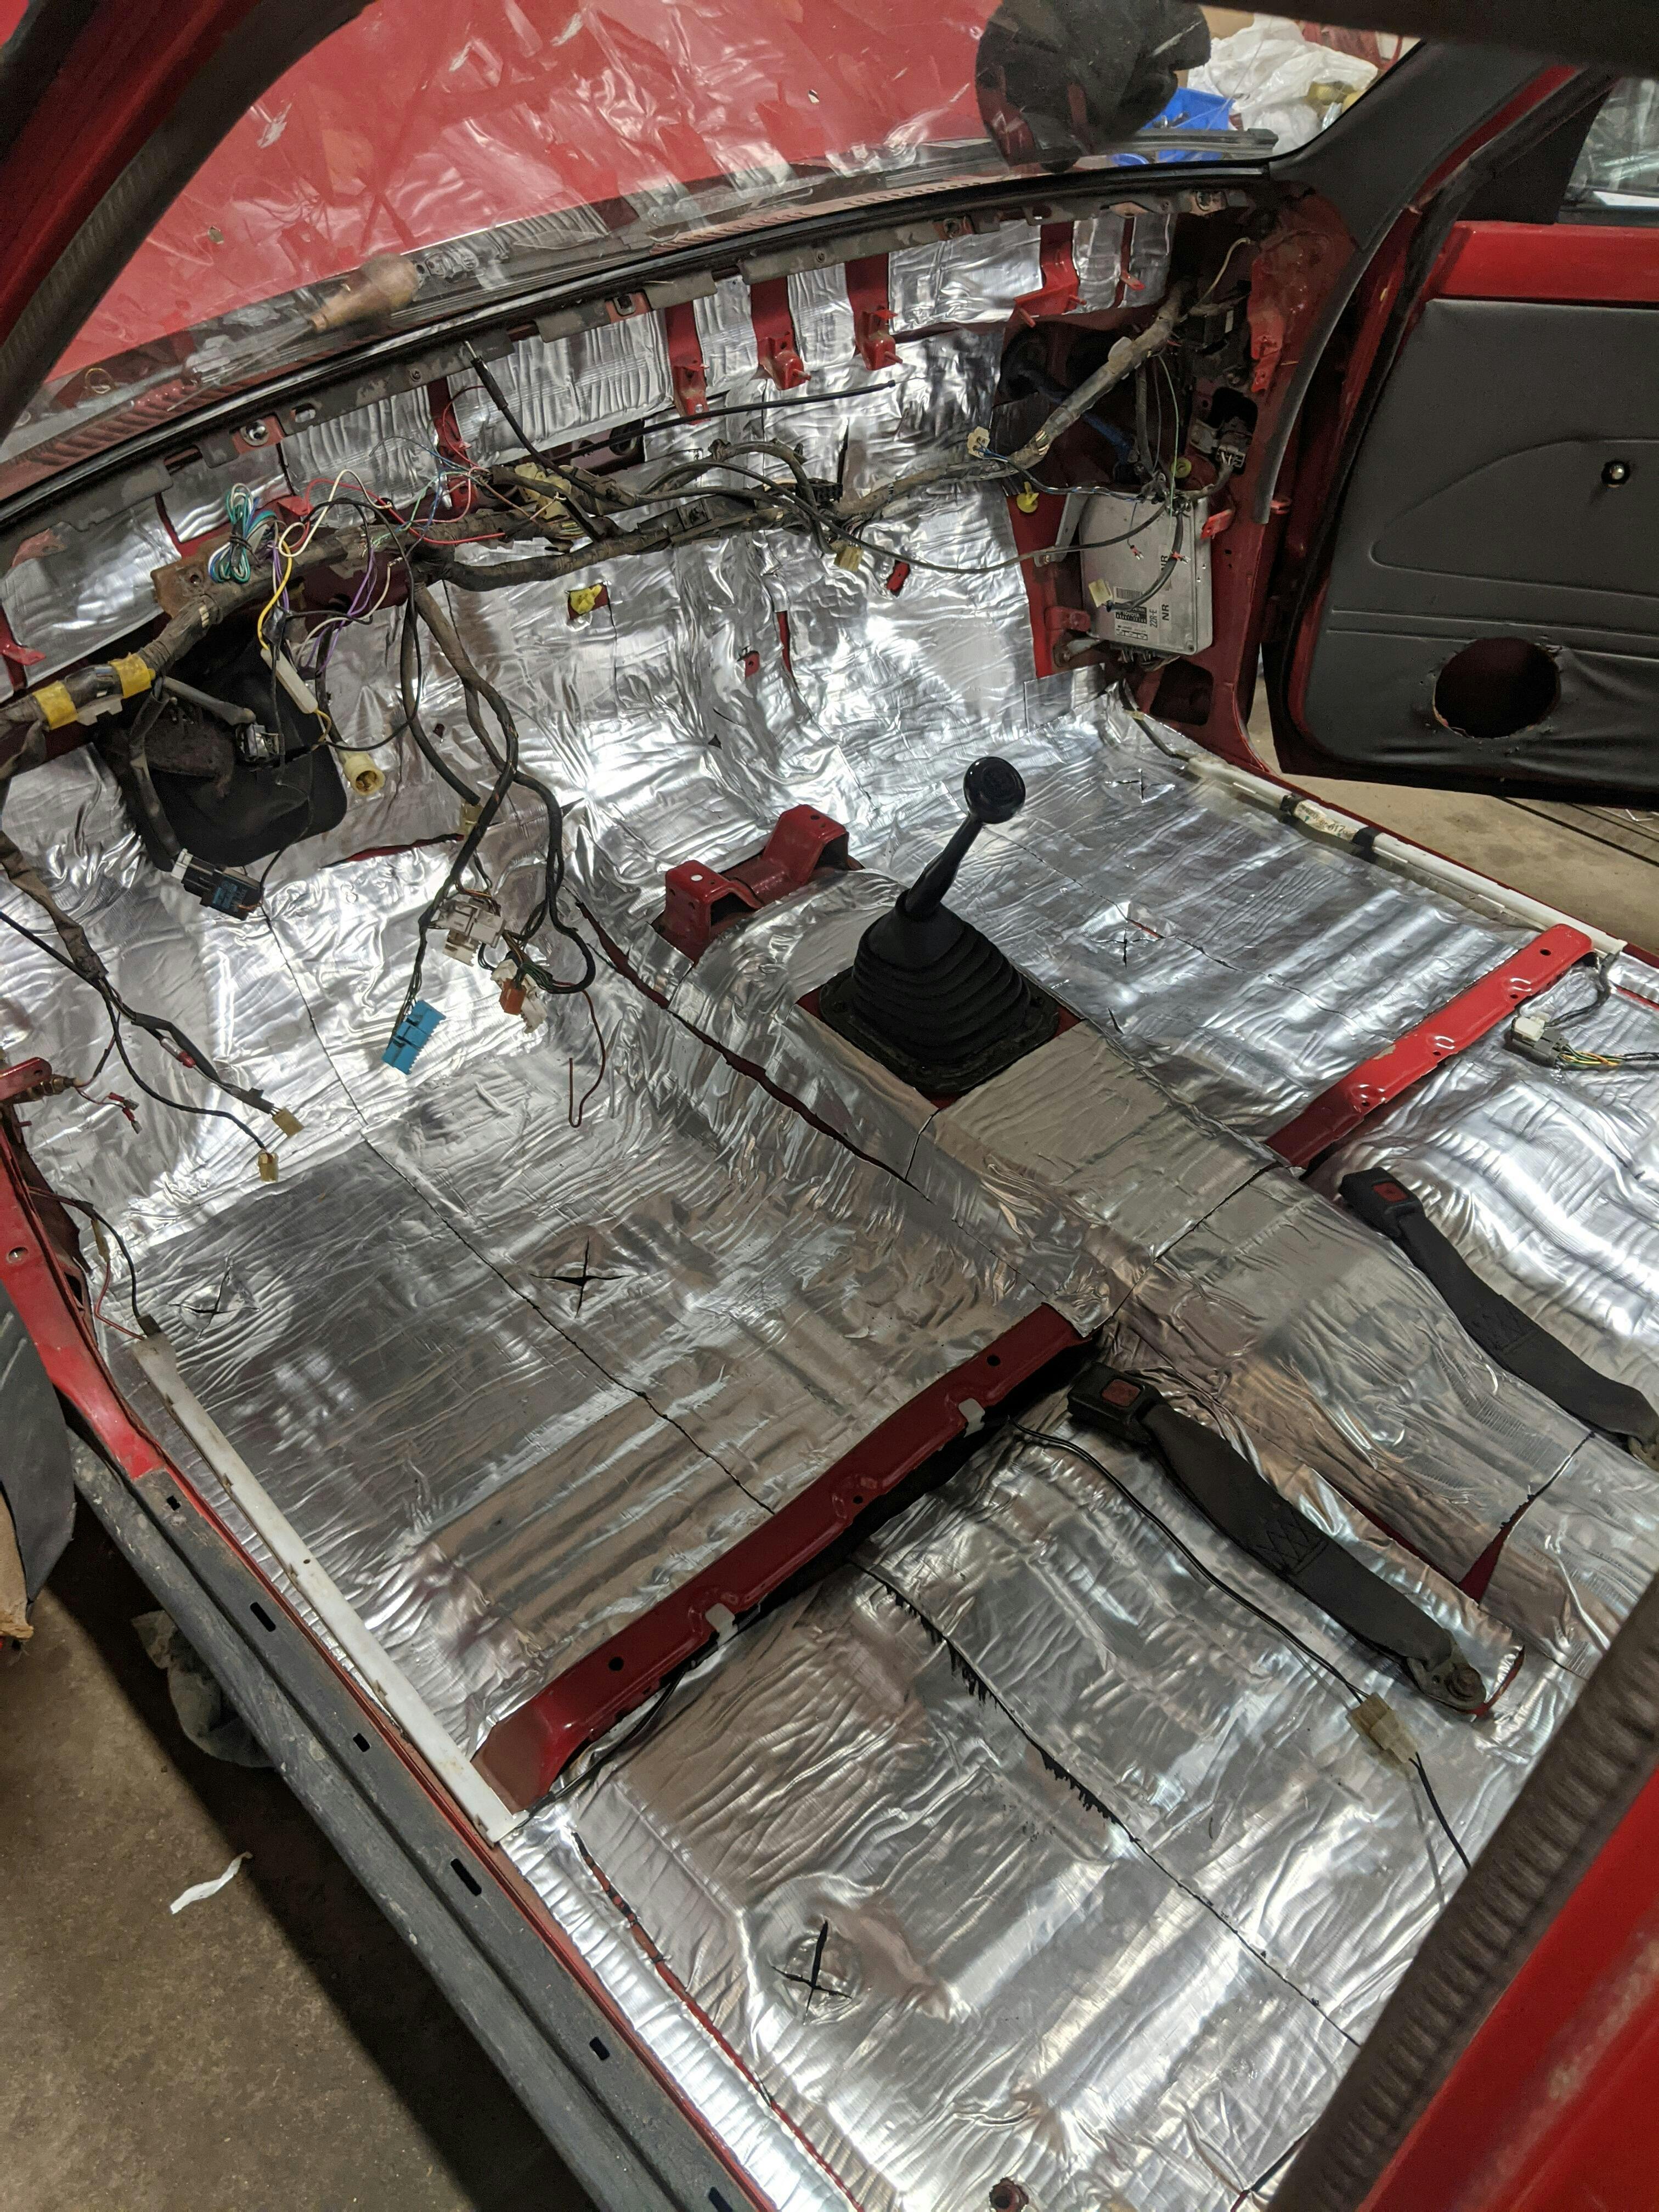
- Floor: The floor of your camper is often subjected to road noise and vibrations. Soundproofing the floor can greatly reduce these disturbances and create a more peaceful environment.
- Walls: Walls play a significant role in blocking engine noise and vibrations from entering the living space. Enhancing your camper's wall insulation with sound deadening materials can further improve comfort.
- Ceiling: Installing soundproofing materials on the ceiling can help minimize wind and airborne noise, leading to a quieter and more serene atmosphere.
- Wheel Wells and Engine Compartment: The wheel wells and engine compartments are potential sources of significant noise. Addressing these areas with sound deadening materials can further enhance the tranquility of your camper.
2: Popular Sound Deadening Materials for Campers
Now that you know which areas to target, let's explore some of the top sound deadening materials to consider for your camper:
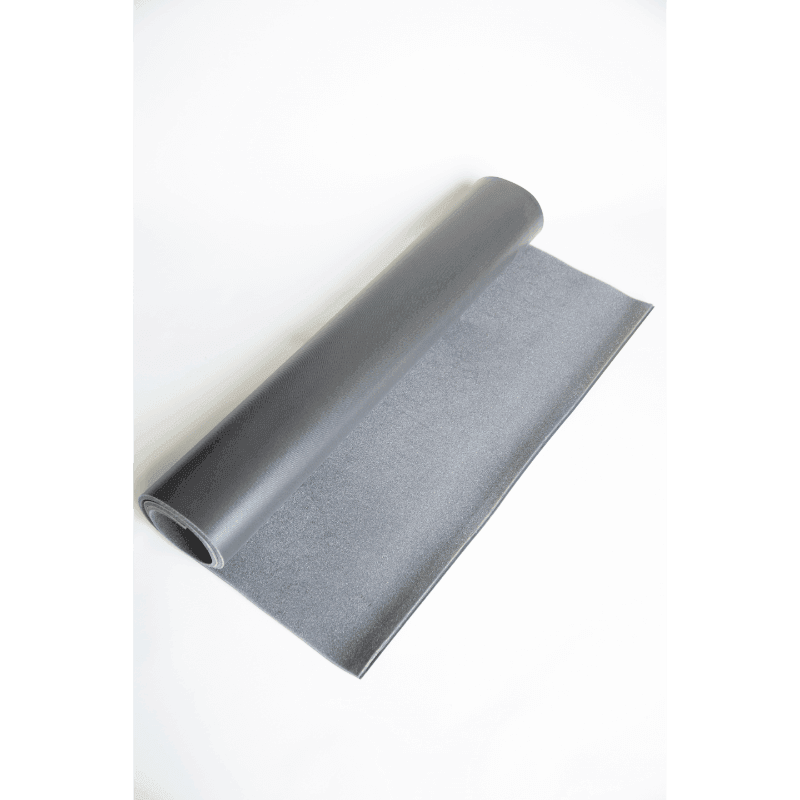
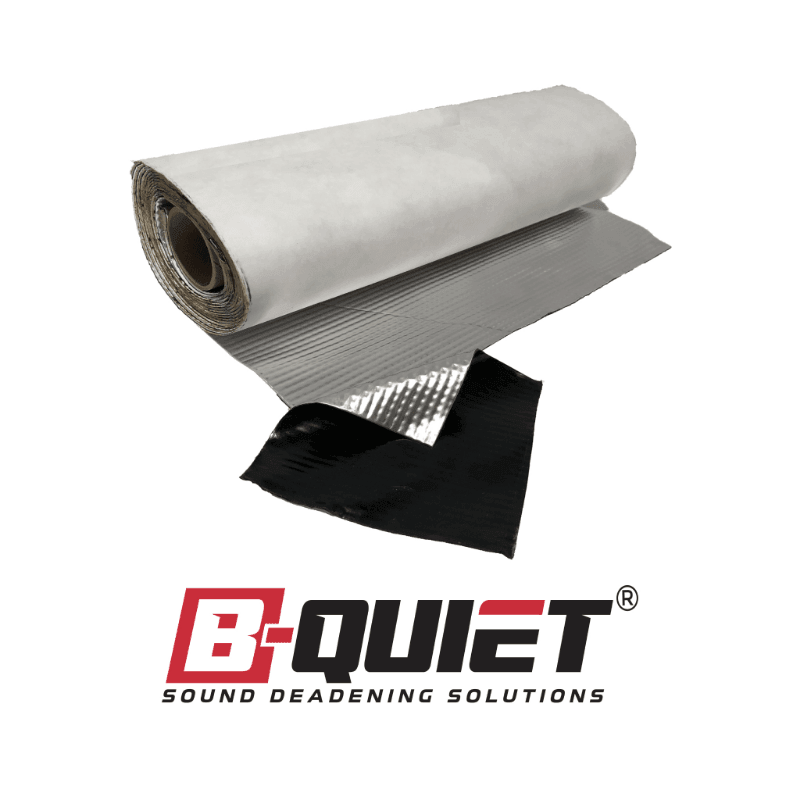
- Mass Loaded Vinyl (MLV): MLV is a dense and versatile material known for its excellent noise blocking capabilities. It's well-suited for use on the floor and walls of your camper, as well as in the wheel wells to help reduce road noise.
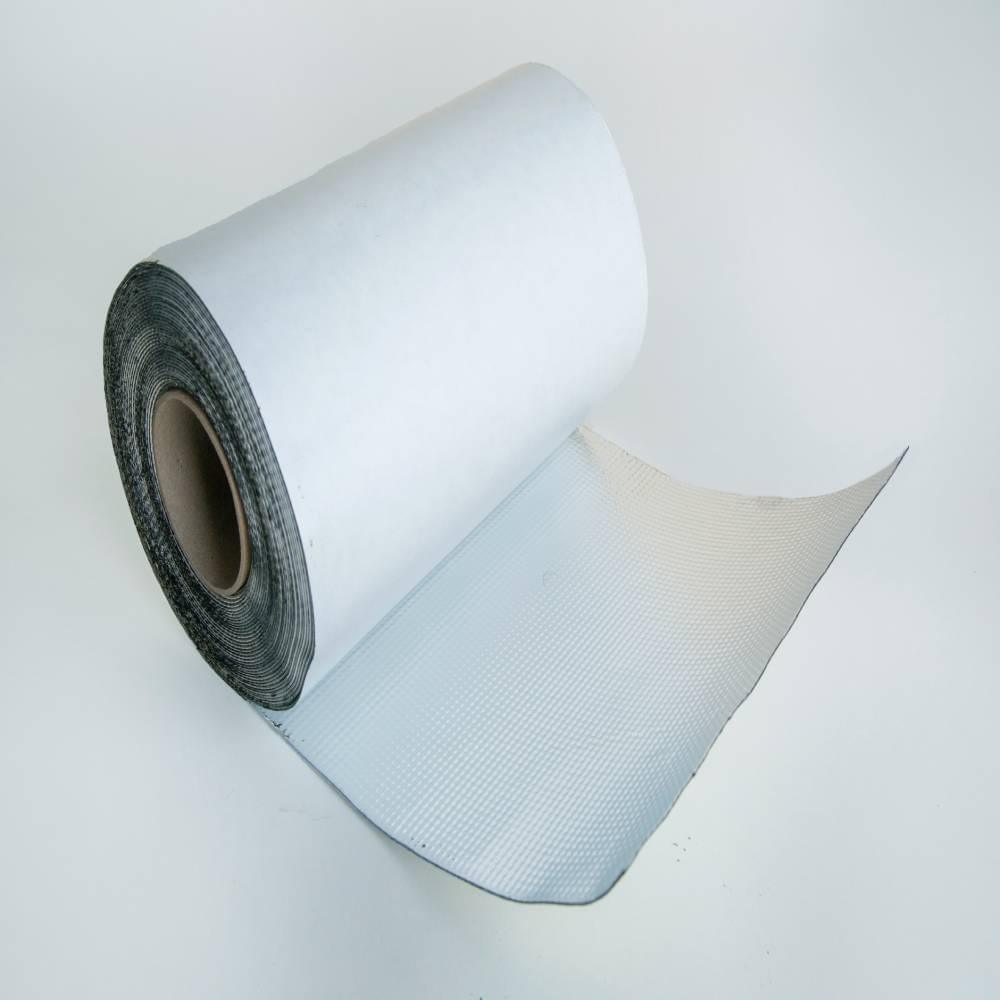
- Butyl Rubber: Often used for damping vibrations, butyl rubber can be applied to various surfaces within your camper. It's especially effective for reducing noise generated from the engine compartment and wheel wells.
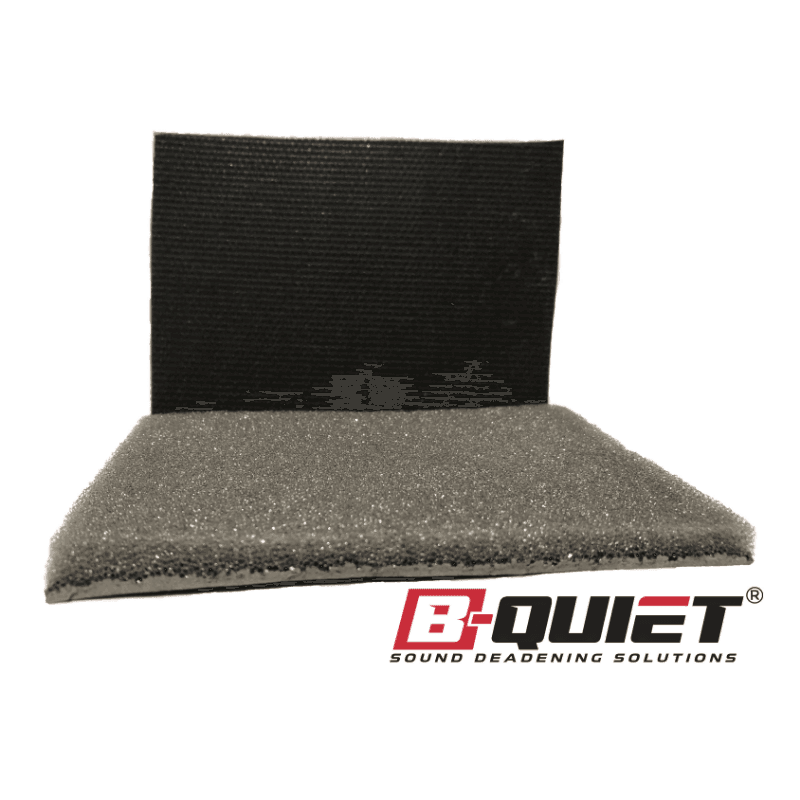
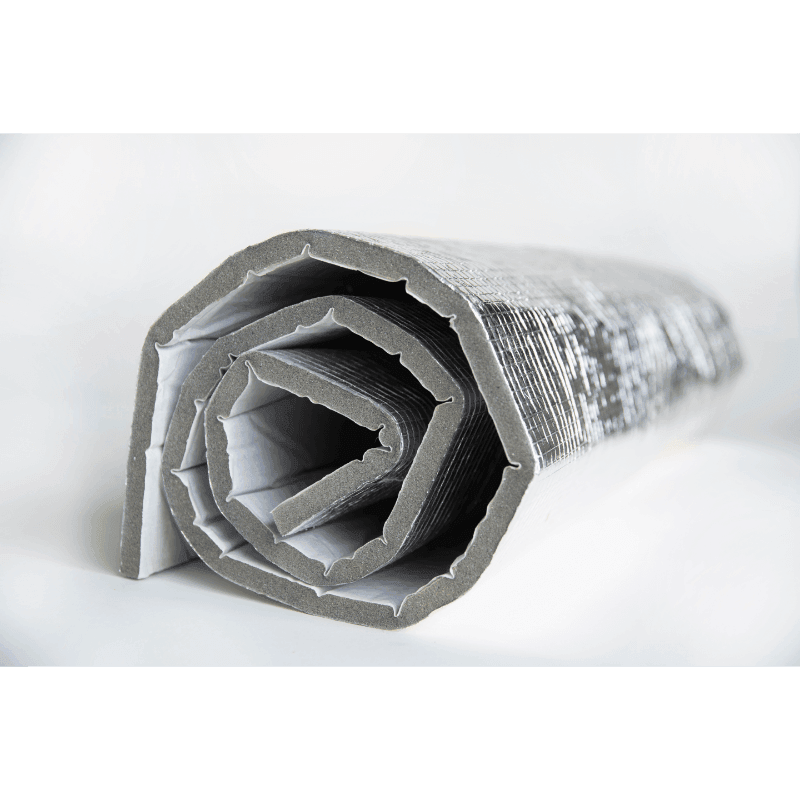
- Closed-Cell Foam: Lightweight and easy to install, closed-cell foam is an ideal option for minimizing high-frequency noises such as wind. It works well when used on the ceiling and walls of your camper.
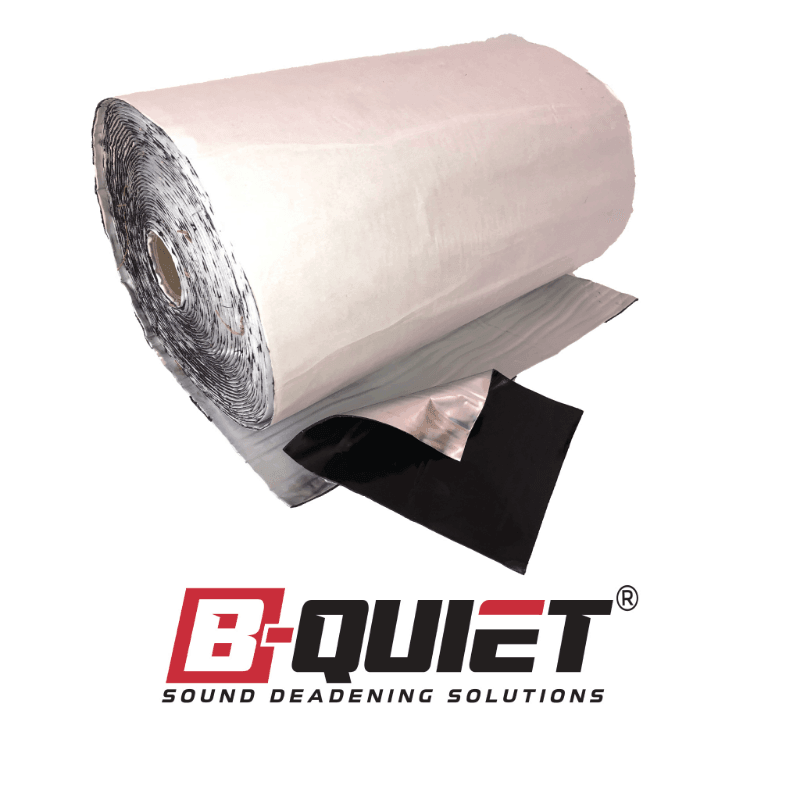
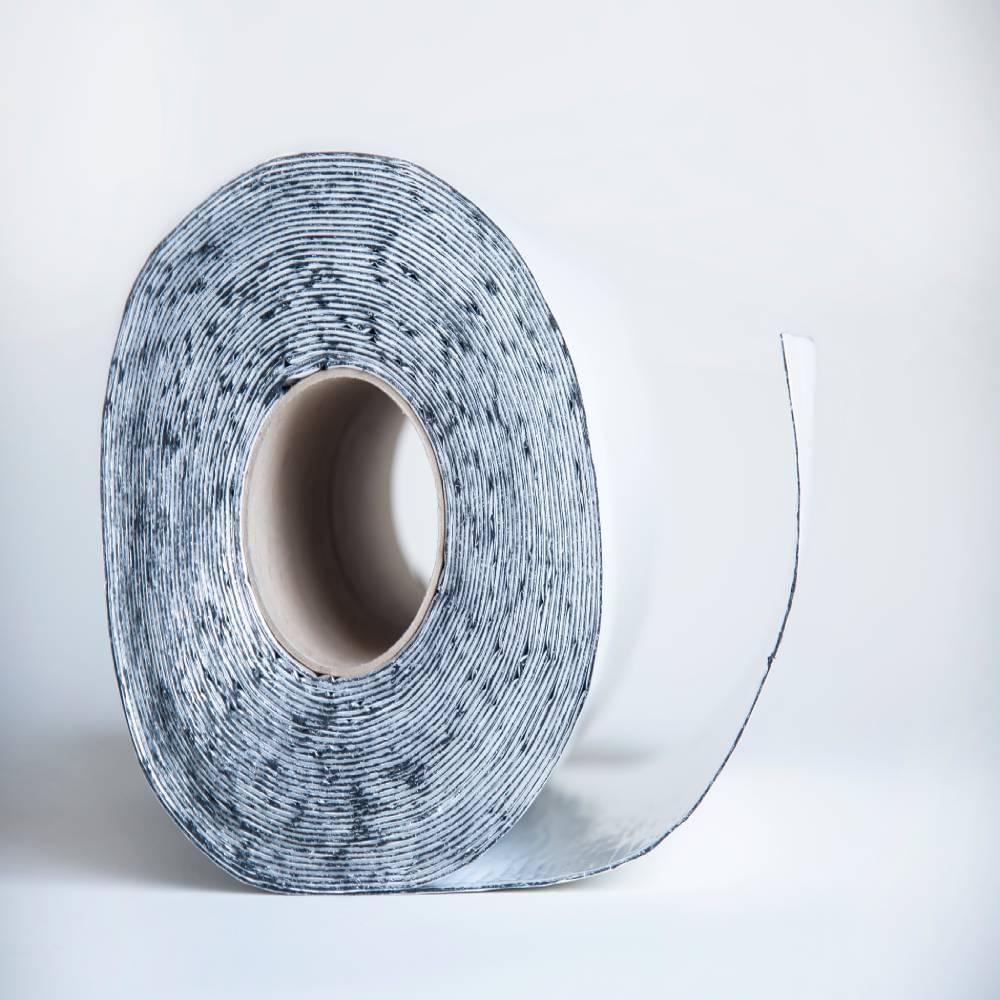
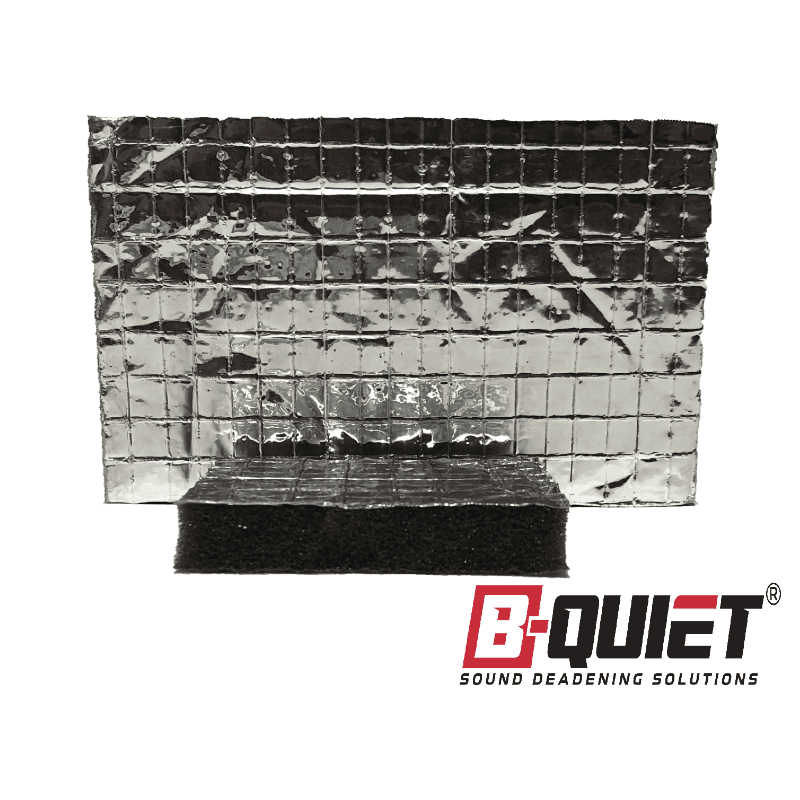
- Sound Deadening Mats: Sound deadening mats, made from materials like butyl rubber and foil, are specifically designed for automotive applications. These mats can be installed under carpets or in hard-to-reach areas to block noise and vibrations.
3: Assessing Sound Deadening Materials for Your Camper
With so many options available, it's important to evaluate sound deadening materials based on your specific needs and preferences. Here are some factors to consider when selecting the right materials for your camper:
- Noise Reduction Capabilities: Each material varies in its ability to reduce different types of noise. Make sure to select the material that addresses the specific noise concerns in your camper.
- Budget: It's essential to find a cost-effective solution that offers high performance without breaking the bank. Be sure to assess the long-term value of investing in premium sound deadening materials.
- Installation Complexity: Consider the ease of installation, especially for DIY enthusiasts. Some materials may require professional assistance for optimal results, while others can be installed with relative ease.
- Weight and Space Concerns: Campers have limited space and weight capacity, so selecting lightweight sound deadening materials is crucial. Ensure the materials you choose won't negatively impact your camper's maneuverability or available living space.
4: Tips for Optimizing Your Camper's Sound Deadening
To ensure you get the most out of your sound deadening investment, consider the following tips for maximizing the effectiveness of your materials:
- Layering Materials: If necessary, layer multiple sound deadening materials to address a variety of noise sources. For example, combining MLV with closed-cell foam can effectively block both low and high-frequency noises.
- Proper Installation: Correctly installing sound deadening materials is critical for achieving the desired reduction in noise levels. Follow the manufacturer's instructions for optimal results, or enlist the help of a professional installer.
- Sealing Gaps: Sound can easily penetrate gaps and holes in your camper's structure. Be sure to seal all gaps with weatherstripping or acoustic caulk to prevent noise infiltration.
- Regular Maintenance: Keep your camper in good condition by addressing issues that may contribute to increased noise levels, such as worn-out tires, loose components, or damaged seals.
Conclusion:
Transforming your camper with effective sound deadening techniques can drastically enhance the comfort and enjoyment of your road trip experiences. By identifying key areas for noise reduction and selecting suitable materials, you can create a peaceful and cozy living space on wheels, allowing you to fully immerse yourself in the wonders of your journey. Remember to evaluate the noise reduction capabilities, budget, installation complexity, and weight of your chosen materials to ensure a successful soundproofing endeavor. By employing these sound deadening techniques, you'll be well on your way to creating an extraordinary road trip experience that your traveling companions will treasure for years to come. To explore your sound deadening options and discover how B-Quiet can help, be sure to contact our team today!